


Company 3 used DaVinci Resolve on 'Tomorrowland' HDR settings
El colorista Stephen Nakamura empleó DaVinci Resolve para etalonar ‘Tomorrowland’ y para la creación de un pase para el nuevo sistema de proyección Dolby Vision.
Stephen Nakamura, colorista de Company 3, utilizó DaVinci Resolve en el etalonaje de Tomorrowland, la nueva aventura épica de ciencia ficción producida por Disney. Dado que este largometraje es el primero que se estrena en Dolby Vision, Nakamura también empleó el programa de edición de Blackmagic a fin de crear un pase para este nuevo sistema de proyección.
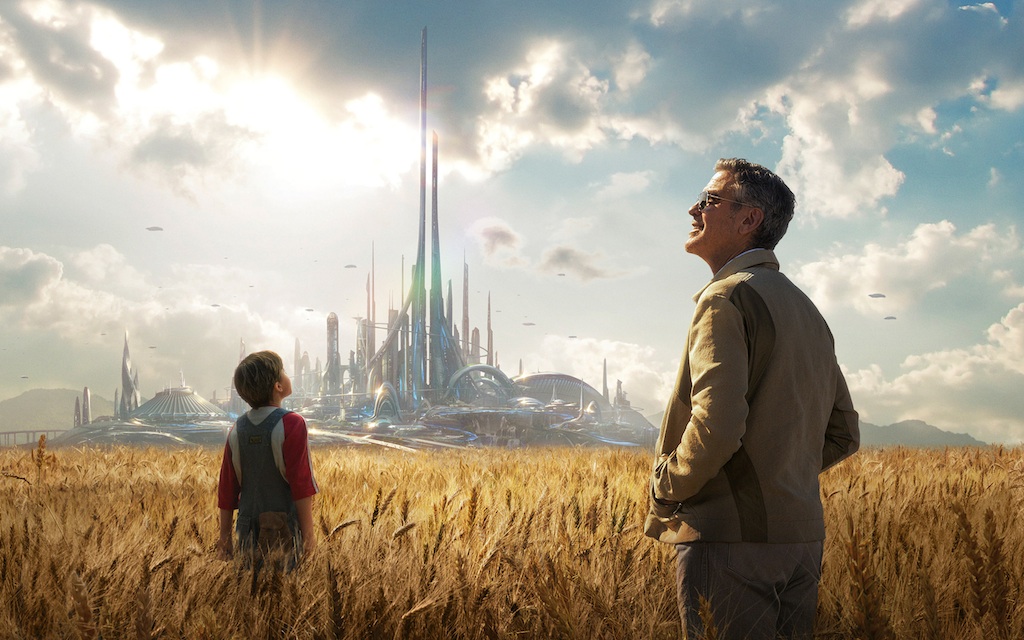
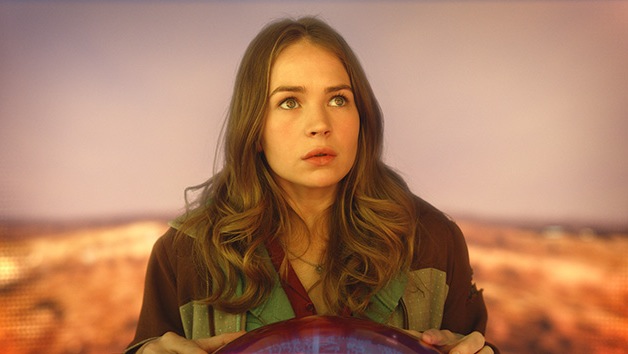
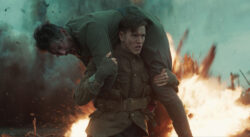
Tomorrowland contó con la dirección de Brad Bird, quien ha sido galardonado con dos premios Óscar (Ratatouille y The Incredibles), mientras que la filmación estuvo a cargo del director de fotografía Claudio Miranda, también merecedor de una estatuilla de la Academia (life of pi). La película sigue las aventuras de Frank Walker (George Clooney), un inventor prodigio durante su niñez, y Casey Newton (Britt Robertson), una adolescente brillante con una curiosidad científica rebosante, al emprender juntos una misión extremadamente peligrosa con el objetivo de desvelar los secretos de un lugar enigmático situado en algún punto del tiempo y el espacio conocido en su memoria colectiva como Tomorrowland.
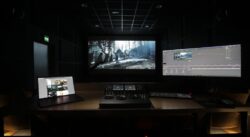
 Nakamura destaca que “la apariencia de Tomorrowland es levemente más brillante y saturada que la vida real, pero no hasta un punto extremo, ya que las sombras no se oscurecen demasiado ni se pierden detalles en las luces. Generé varias Power Windows en Resolve para atenuar los efectos de una manera muy sutil. La película está cargada de efectos especiales complejos y siempre es posible realizar algunas mejoras en la etapa de etalonaje al verlos proyectados en la pantalla dentro de su contexto con las demás tomas”.
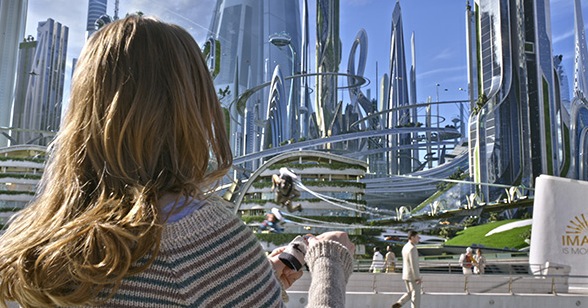
Según Nakamura, hay una secuencia fascinante de efectos especiales en la que uno de los protagonistas se transporta al mundo de Tomorrowland por primera vez. “Se trata de una toma en movimiento que dura alrededor de dos minutos e incluye una vasta cantidad de elementos creados por Industrial Light & Magic (ILM). Justamente estaba realizando el etalonaje de esta escena en ILM mientras se diseñaban los efectos. En esa ocasión, utilicé las herramientas de atenuación de bordes y ajuste de luces en el panel Color Match, junto con algunas funciones para la composición de imágenes por crominancia, con el objetivo de aumentar o disminuir la saturación en partes específicas de la imagen”, asegura.
Dolby Vision
Nakamura también recurrió a estas herramientas para llevar a cabo el pase de Dolby Vision.
“Al convertir los archivos del formato convencional P3 D-Cinema a PQ, es posible lograr que las zonas más claras de las imágenes adquieran más del doble de brillo, y que el color negro de las sombras sea más intenso. Brad y Claudio estaban interesados en aprovechar este gran rango dinámico en una forma muy sutil”, señaló Nakamura. “Muchos de los ajustes para Dolby Vision consistieron realmente en crear una nueva interpretación del material, de modo que la amplitud del rango dinámico no fuera un aspecto abrumador sobre otros elementos. Por ejemplo, un área brillante en una imagen, como una lámpara, no opacaría completamente el rostro de los actores como podría suceder en otros casos”, añade.
Nakamura concluye afirmando que “aunque el pase de Dolby Vision me brindó la posibilidad de acentuar el brillo en las zonas claras de las imágenes de una manera nunca antes vista en el formato D-cinema tradicional, utilicé las funciones de atenuación de bordes y ajustes de luces en DaVinci Resolve para conservar el aspecto original de la versión estándar de 14 pies Lambert en la variante Dolby Vision de 31.5 pies Lambert”.
Did you like this article?
Subscribe to our NEWSLETTER and you won't miss anything.
Related articles
 Imago VFX grades and creates visual depth of the film 'The Damned' with DaVinci Resolve Studio
 The DaVinci Resolve Live Tour lands in Madrid
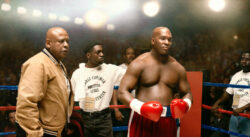 Company 3 and SpinVFX use DaVinci Resolve Studio on the film ‘Big George Foreman’.
Company 3 and SpinVFX use DaVinci Resolve Studio on the film 'Big George Foreman'
Company 3 and SpinVFX use DaVinci Resolve Studio on the film ‘Big George Foreman’.
Company 3 and SpinVFX use DaVinci Resolve Studio on the film 'Big George Foreman'
 Immersive MMG mezcla y masteriza contenido musical con Fairlight de DaVinci Resolve
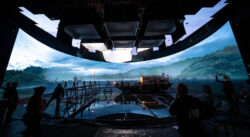 Basis Berlin procesó las imágenes que funden realidad y fondos LED de la serie ‘1899’ con DaVinci Resolve
 Blackmagic regresa a NAB con grandes novedades: DaVinci Resolve 18, Cloud Store, HyperDeck…
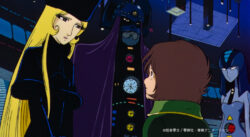 DaVinci Resolve Studio remasteriza en HDR con Dolby Vision el clásico del animé ‘Galaxy Express 999’
 Goldcrest Post elige DaVinci Resolve Studio para etalonar ‘King’s Man: el origen’
 Pigmento cambia a DaVinci Resolve para el etalonaje en HDR e IMF
 Oscar winner Claudio Miranda trusts DaVinci Resolve Studio and DaVinci Resolve Mini Panel from Blackmagic
 DaVinci Resolve releases more than 70 improvements
 DaVinci Resolve 10, now available in beta
 Company 3 utiliza DaVinci Resolve en los grandes estrenos de la temporada